This resource explains how to add and manage contacts on an iPad.
A program of Goodwill Community Foundation® and Goodwill Industries of Eastern North Carolina Inc.® (GIENC®), all GCFLearnFree.org® educational content is designed and produced in the GCF Global headquarters in Durham, N.C.
at edu.gcfglobal.org
General Objective
Preparation time for facilitator
Competence area
Name of author
Resource originally created in
Adding and managing contacts
The iPad allows you to save contact information for the people you know using the Contacts app. You can use saved contact information to quickly place a FaceTime call, send an email, and more. The iPad allows you to create as many contacts as you need, so you’ll always have important contact information with you.
To add a contact:
1. Tap the Contacts icon on the Home Screen.
![]()
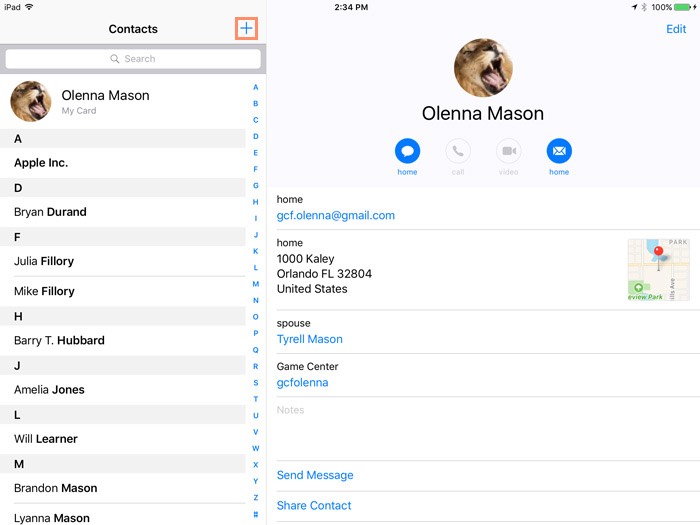
2. The contacts list will appear. Tap the + button.
3. Enter the desired contact information. At the very least, you should enter a first and last name, as well as an email address. However, you can also enter other information, like a phone number, street address, or birthday.
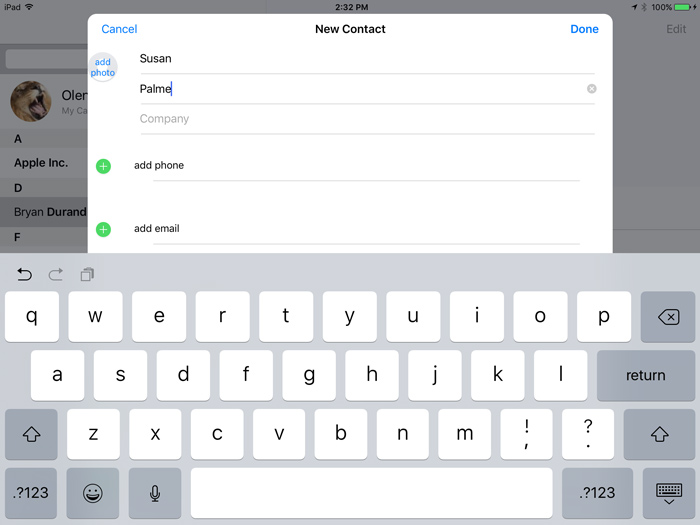
4. When you’re finished, tap Done.
To edit information for an existing contact, select the contact, then tap Edit.

Managing contacts via iCloud.com
If you want to add or edit several contacts at the same time, you might find it easier to use a computer with a traditional keyboard. To do this, simply navigate to www.iCloud.com, click Contacts, then add or edit your contacts as needed. When you’re done, the information will be automatically synced to your iPad.
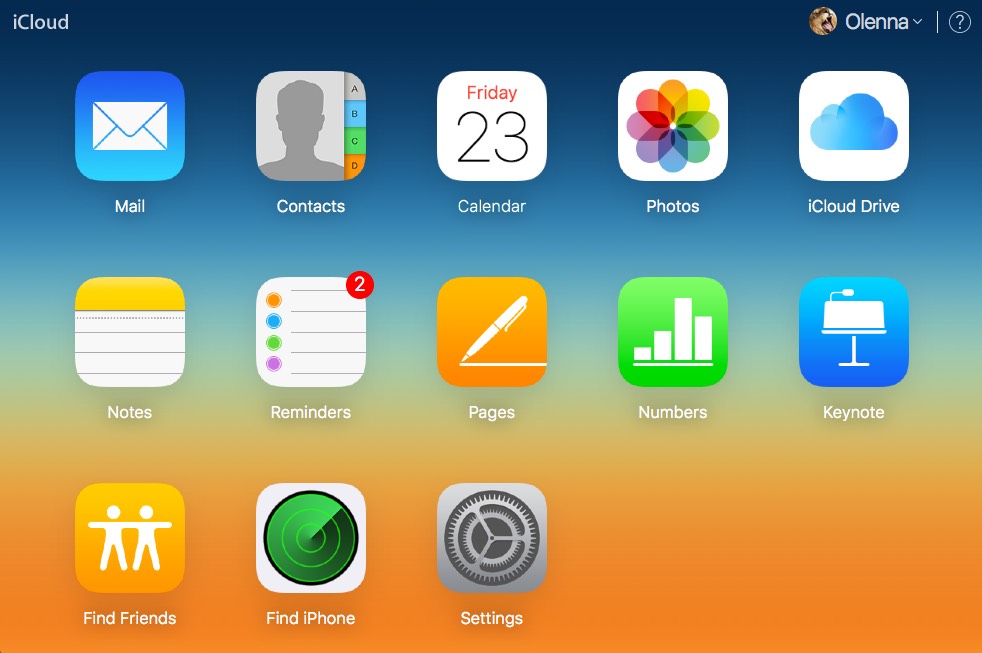
Your iPad must be connected with iCloud to use this feature.
Navigating contacts
If you have many people saved to your contacts list, it can be difficult to find a contact quickly. Fortunately, there are two easy ways to navigate your contacts.
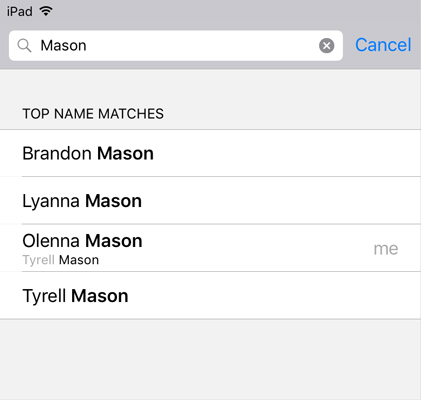
- Search: You can quickly search all of your contacts by using the Search bar at the top of the contacts list. Just tap the Search bar and type. Any contacts matching your search will appear.
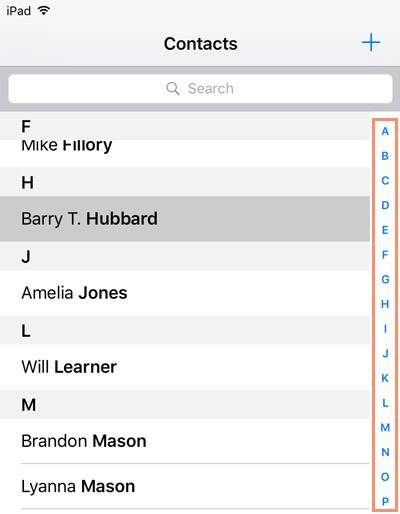
- Browse by letter: You can quickly browse through your contacts list by letter. Just tap the desired letter to the right of the contacts list. You can also drag your finger up or down the letters to quickly scroll through your contacts.
To set the My Info card:
If you’d like Siri to access your personal contact information, you’ll need to set the My Info card. This will allow Siri to answer more complex requests, like Give me directions home or Remind me about my meeting when I get to work.
Before you can set the My Info card, you’ll need to create a contact with your own name and information.
1. Tap the Settings icon on the Home Screen.
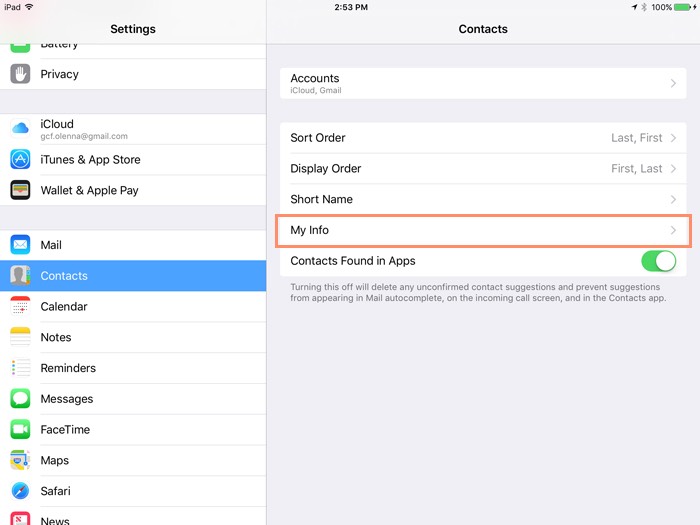
2. Scroll down and tap Contacts in the left pane.
3. Scroll down and tap My Info under Contacts.
4. Your contacts list will appear. Locate and select your name.

5. The My Info card will be set with your information.
To add relationship labels:
If you’d like Siri to understand your relationships to different contacts (for example, that Frank is your brother and that Susan is your mother), you can add relationship labels.
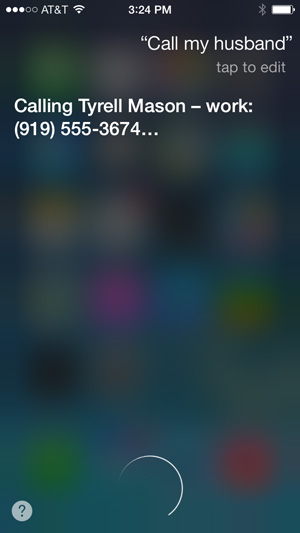
To add a relationship label, press and hold the Home button to access Siri, then explain the contact relationship.
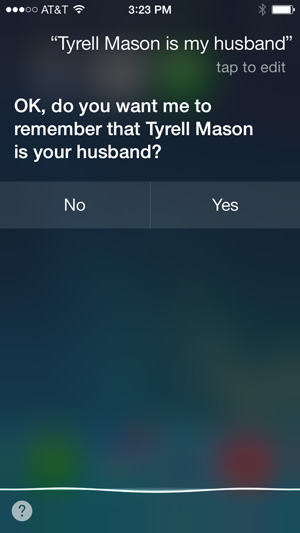
After adding a relationship, Siri can respond to more personal requests, like Call my husband or Send mom a text message.
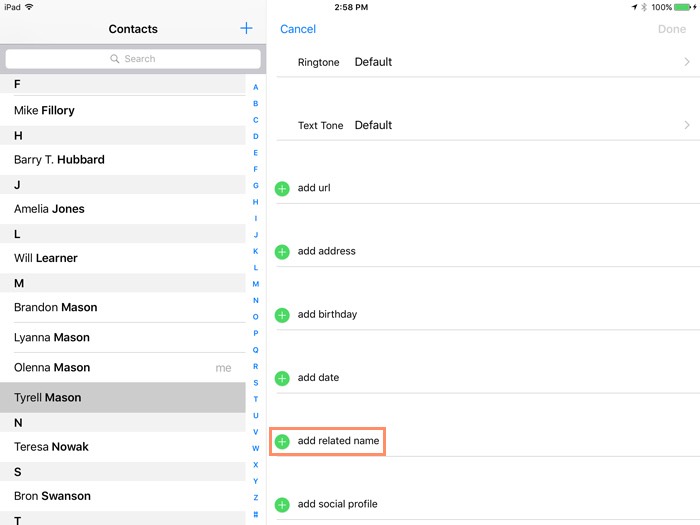
You can also manually set a relationship label for a contact. When viewing the contact, tap Edit, then scroll down and select add related name.